-
php파일 html, css 를 이용한 구글클론사이트[1]Web 2020. 4. 19. 06:50
무작정 따라해보고 익힌다는 마인드...
설치하는 것부터 파일 하나 생성하는것도 어려웠다아...
에러가 나면 어디서 난건지...(왜 따라하는건데도 에러가 나지..?^^;;)
에후우 ... 모두 홧팅!
(php와 Apache가 깔려있다는 전제하에 시작!)
1. php , css 파일 생성하는 방법
Sublime Text 로 New File을 생성한 뒤 저장할 때 확장자까지 적어준다!
ex) 이름.php , 이름.css , 이름.html2. index.php 파일 생성 및 코드
index.php : head 와 body를 설정할 수 있는 파일
간단히 head 와 body를 설명하자면

위(부찌여의 구글클론사이트): head 중간(Google): body <ht 까지만 하고 tab을 누르면 기본적인 형식이 자동완성된다.

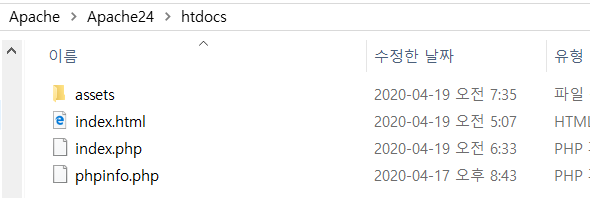
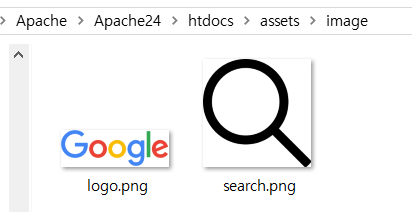
img 라는 이미지 파일은 logo와 searchBox에 필요하므로 다운받아서 assets 폴더안에 image 폴더를 만들어서 넣어놓자
<!-- 구글 클론 사이트 php 소스코드 -->

<!DOCTYPE html>
<html>
<head>
	<title>부찌여 구글클론 사이트</title>
	<link rel="stylesheet" type="text/css" href="assets/style.css">
</head>
<body>

	<!-- div : 바디를 나눈다. /class : 해당 class에 css를 적용 시킨다.
		웹페이지 화면을 감싸는 랩퍼 클래스, 인덱스 페이지-->
	<div class="wrapper indexPage ">

		 <!-- 메인 섹션 -->
		<div class="mainSection">

				<!-- 로고 부분 -->
			<div class="logoContainer">
				<img src="assets/image/logo.png" alt="">
			</div>

			<!-- 검색 부분 -->
			<div class="searchContainer">

				<div class="searchBox">

					<img src="assets/image/search.png" alt="">
					<input type="text" placeholder="검색어를 입력해주세요...">

				</div>

			</div>

		</div>

	</div>

</body>
</html>
3. assets 폴더를 생성하고 style.css 파일 생성 및 코드
style.css : 색깔을 넣거나 꾸미는 것을 설정할 수 있는 파일
/* 구글 클론 사이트 css 소스코드 */

* {
	color: #000000;
}

/*html 태그, body안에 들어있는 것들의 속성을 정한다. */
html, body {
	margin: 0px;
	height: 100%;
}

/* 웹페이지 전체를 감싸는 클래스  */
.wrapper {
	/* 선형정렬 */
	display: flex;
	flex-direction: column;
	min-height: 100%;
}

.wrapper.indexPage {
	/* 플렉스 안의 내용물을 가운대로 정렬하겠다. */
	justify-content: center;
}

/*  메인 부분 */
.mainSection {
	/* 리니어와 비슷: 선형정렬 */
	display: flex;
	flex-direction: column;
	/* 가운데 정렬 */
	align-items: center;
}

.mainSection .logoContainer img {
	height: 100px;
}

.mainSection .searchContainer {
	margin-top: 30px;
	width: 100%;
	display: flex;
	flex-direction: column;
	align-items: center;
}

.mainSection .searchContainer .searchBox {
	border: none;
	box-shadow: 0px 2px 0 rgba(0,0,0,0.16), 0 0 0 1px rgba(0,0,0,0.08);
	height: 44px;
	border-radius: 22px;
	width: 60%;
	outline: none;
	max-width: 630px;
	/* 가로세로 선형정렬 */
	display: flex;
	align-items: center;
}

.mainSection .searchContainer .searchBox img{
	width: 20px;
	height: 20px;
	margin-right: 13px;
	margin-left: 10px;
}

.mainSection .searchContainer .searchBox input {
	flex: 1;
	height: 38px;
	margin-right: 20px;
	border: none;
	outline: none;
	font-size: 15px;
}
4. 웹페이지 확인하는 방법
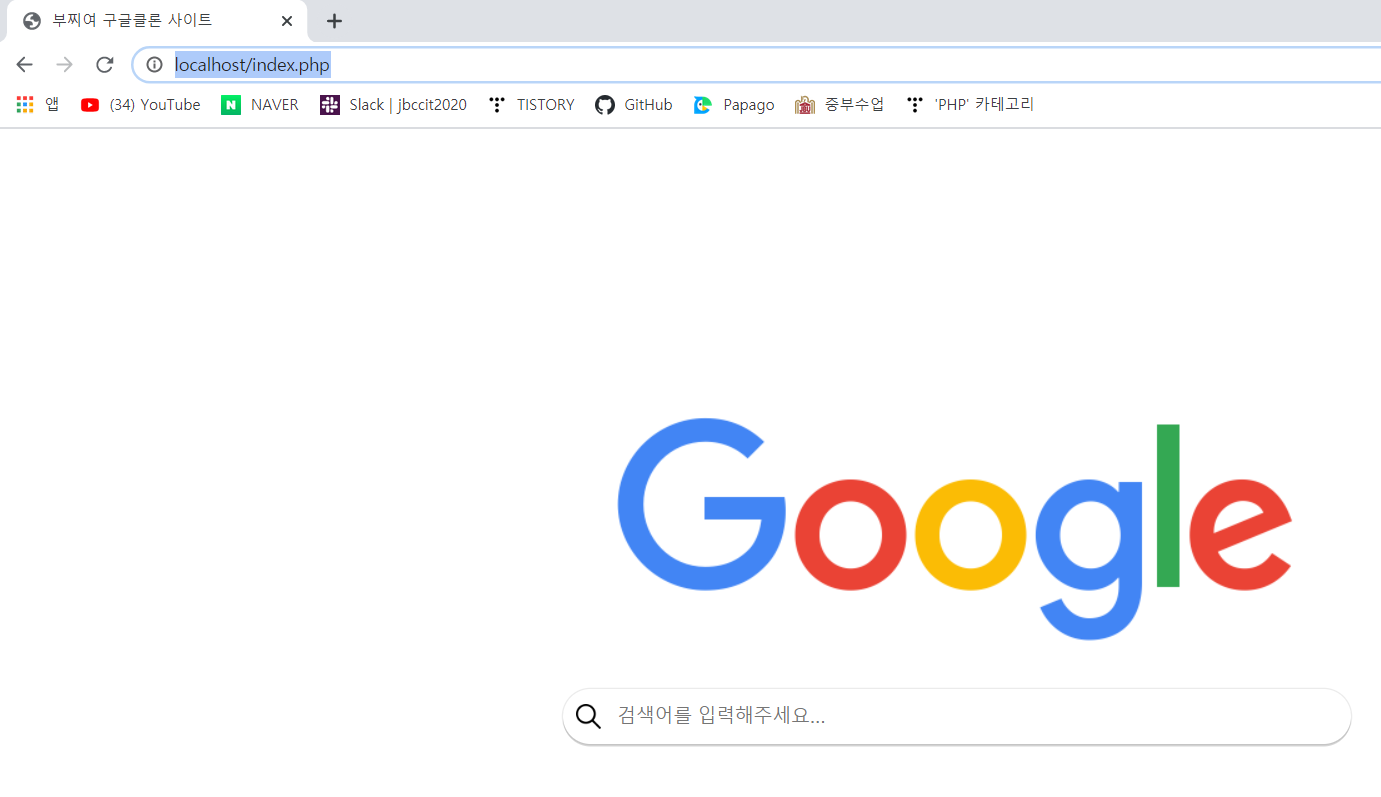
localhost/index.php 라는 링크를 검색하면 자신의 만든 구글 클론 사이트 등장!
5. 크롬의 개발자 도구 (검사)를 활용하는 방법
개발자 도구에선 설정을 하면 바로바로 확인이 가능하다! (but. 새로고침하면 날라가니 php나 css파일에 저장 필수!)

노란부분: style.css 설정 부분 (소스코드와 같음) 개발자 도구를 들어가는 방법 )
1) 마우스 우클릭 + 검사

2) Ctrl + shift + i

< 완성 >

왼 : 부찌여 구글클론 사이트 / 오 : 구글 페이지 좀 비슷한가여?ㅎㅎ.. searchBox 부분에서 엄청 고생했어유ㅠ..
그래도 어느정도 비슷한게 너무 맘에 든답니당!!!!
다음에는 검색도 가능하게 함 해볼꺼예유
* 개발하는 정대리 님의 유튜브를 보고 실습한 내용입니다!! (https://youtu.be/J8yy716hvbk) *
'Web' 카테고리의 다른 글
[PHP_MYSQL] 연동 에러 해결방법!!! (2) 2020.09.18 php파일 html, css 를 이용한 구글클론사이트[2] (0) 2020.04.20